The paper giraffe craft can be done by using any type of paper. Mix and match some colors to make each giraffe unique. When the paper giraffe is complete, your young ones can name it and bring it along for all of the fun. Create more fun paper animals to really bring the zoo to life!
What You’ll Need
- 1x Scissor
- 1x Brown Paper Sheet
- 1x Yellow Paper Sheet
- 1x Black Koki
- 1x Double Sided Tape
Step 1
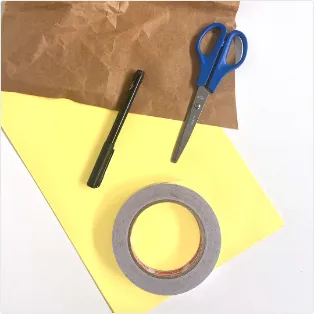
Ask your mom or dad to assist you in getting all your craft materials ready to complete the project. Select 2 different shades of yellow, orange, brown and pink colored craft papers for the paper giraffe craft.
Step 2
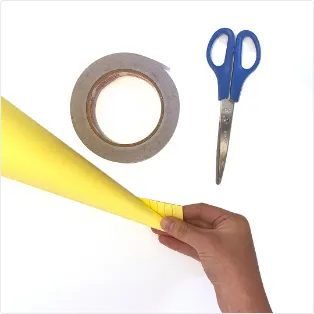
Make a cone from yellow paper and use a piece of cellutape to hold this in place.
Step 3
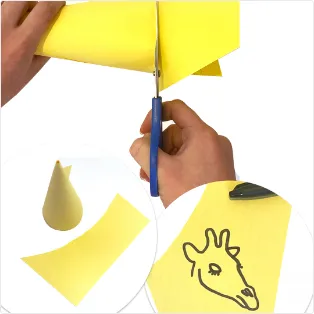
If they are ready, watch them as they use children’s scissors and guide them to success. This will improve their patience as well as eye-hand coordination. Trim the bottom in such a way that the cone can stand on a flat surface.
Step 4
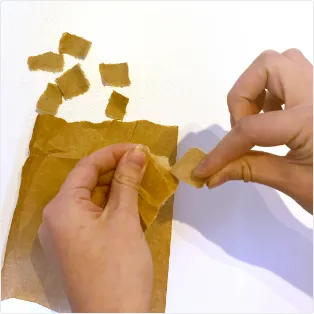
Get your fingers to work and tear the brown paper in small roughly rectangular pieces of different sizes.
Step 5
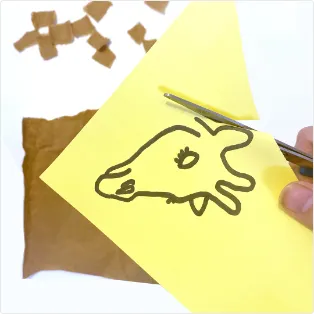
Draw the face of the giraffe on yellow paper with black pen and cut it out carefully as shown in the picture.
End
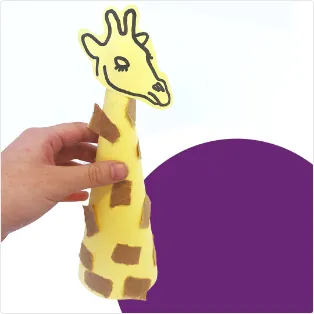
Glue the brown pieces on the cone forming the Giraffe’s coat patterns. Finally, glue the face cutout on the pointed end of the cone. Your kid’s long-necked friend is ready. Happy Crafting!
